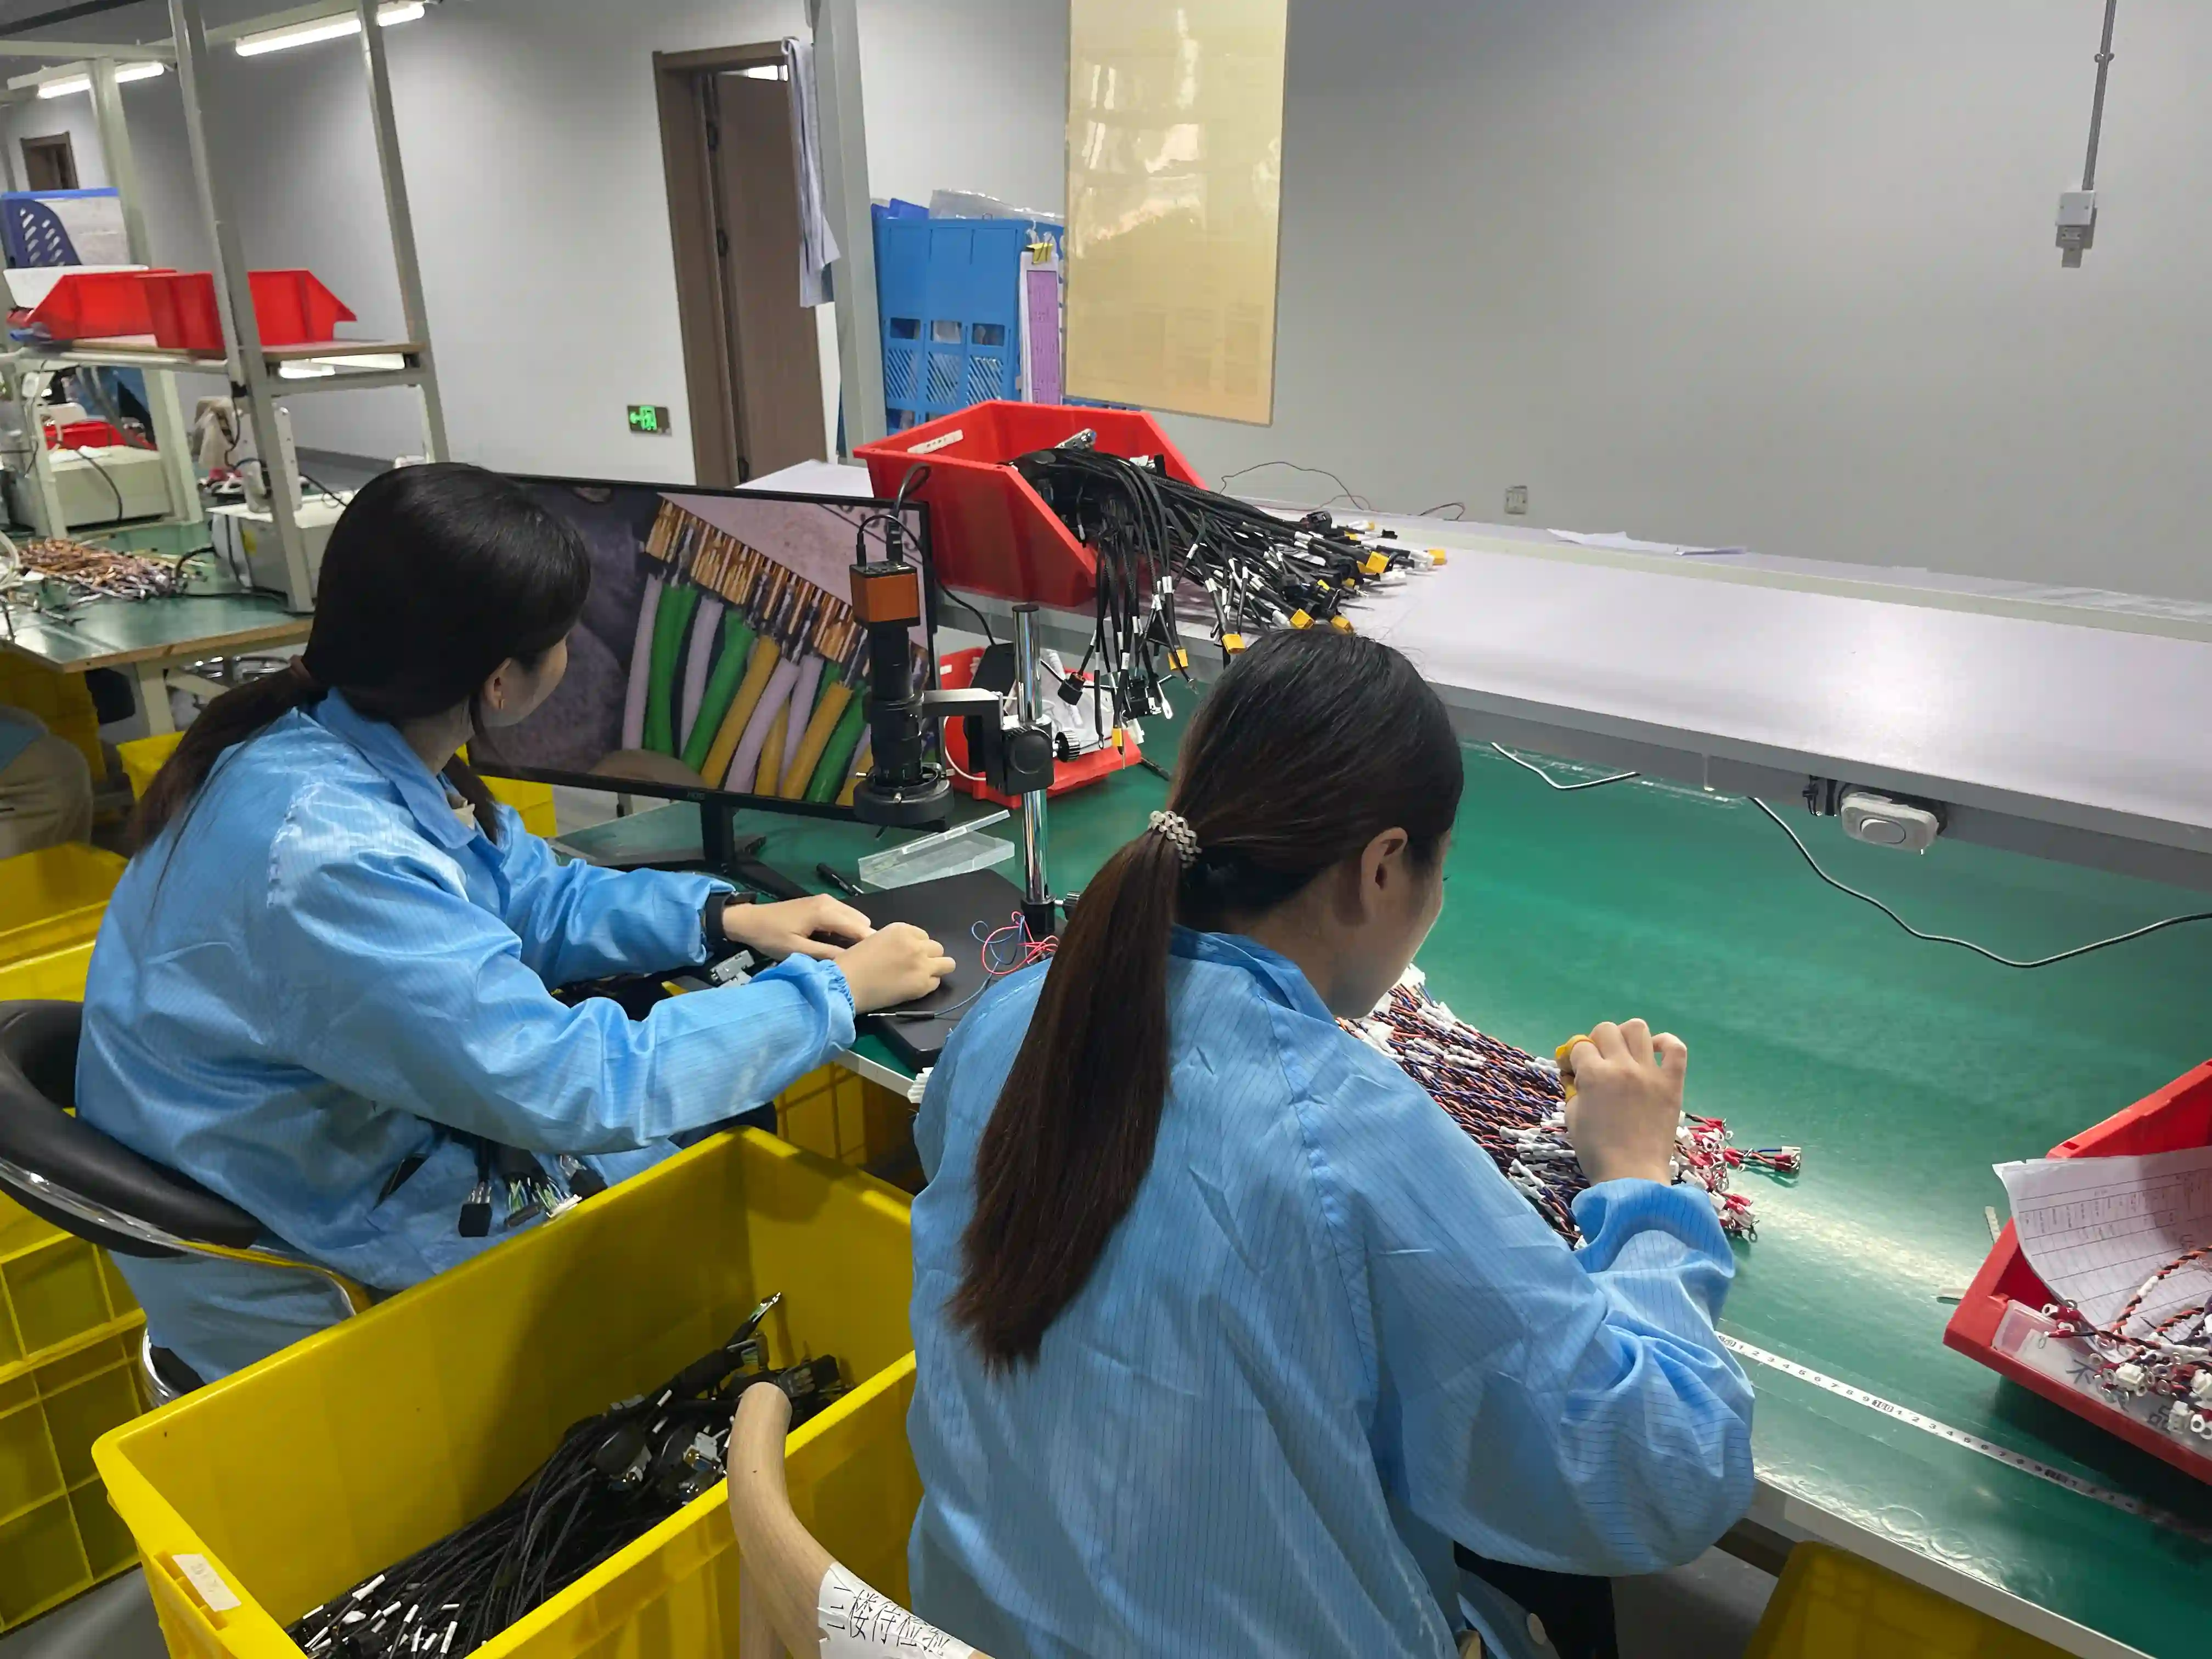
A cable assembly can pass continuity, look clean under visual inspection, and still fail in the field because the terminal never had enough mechanical retention. That is the gap pull force testing closes. It asks a blunt but necessary question: if the wire is loaded in real service, will the crimp hold with margin, or will it slip, crack, or break at the terminal exit?
In a disciplined harness process, pull testing is not a generic box to check. It is a release tool tied to the exact wire-terminal combination, the terminal supplier's crimp window, and the workmanship logic behind IPC/WHMA-style acceptance criteria. It also belongs inside the same evidence stack as first article inspection, crimping best practices, and your pull-force test capability.
If your team already measures crimp height, good. Keep doing it. But crimp height is only a process indicator. Pull force is the destructive confirmation that the setup is truly holding. The strongest programs combine both, then track drift with methods aligned to statistical process controlso bad adjustments are caught before weak crimps reach shipment.
Typical first-article samples per critical crimp family
Minutes between periodic destructive checks on many stable lines
Best practice is pull force plus crimp height, not either one alone
Failed samples must be replaced, not squeezed again and re-used
"A crimp that passes continuity but fails pull force is not a borderline part. It is a process warning. In our experience, once retention drops below the approved minimum, the same setup usually also shows strand damage, strip-length drift, or applicator wear somewhere else in the evidence."
Why Pull Force Matters
Pull testing matters because many crimp defects are mechanical before they are electrical. A weak barrel compression can still conduct current on day one. The field problem appears later, after vibration, thermal cycling, handling stress, or connector unmating loads have worked the joint enough times to expose the weakness. That is especially true in automotive harnesses, industrial motion cables, and medical leads that see repeated service handling.
This is also why a pull specification should never be copied casually between programs. The right minimum depends on conductor size, strand construction, terminal geometry, and the manufacturer's documented crimp range. A 22 AWG open-barrel terminal and a 10 AWG ring terminal do not live in the same retention world, even if both are called "crimps" on the drawing.
For teams building release evidence, this article complements our guides on testing methods, top 10 quality inspection points, and wire cutting and strippingbecause low retention often starts upstream in wire preparation, not at the tester.
"If the wire was nicked during stripping, the pull tester usually tells the truth before the customer does. We often see a 10% to 20% loss in retention margin from strand damage that is almost invisible in a fast visual check."
What the Test Actually Proves
A proper pull test proves that the released crimp can resist axial separation at or above the required minimum. It does not prove every quality attribute by itself. You still need correct terminal seating, proper insulation support, acceptable bellmouth, and the right crimp height window. Think of pull force as one decisive piece of a larger approval system, not a substitute for that system.
The test is also only as good as the fixture. If the conductor clamp damages the wire, if the terminal is side-loaded, or if the pull rate is inconsistent, you can generate false failures and chase the wrong corrective action. For that reason, pull testing should live in calibrated, documented work instructions, just like crimping process setupand final test methods.
What Pull Testing Can Confirm
- Terminal retention meets the released minimum for that wire-terminal family
- Setup changes after maintenance still produce acceptable crimps
- Alternate materials or new lots have not degraded mechanical margin
- Corrective action has restored acceptable retention
What Pull Testing Cannot Replace
- 100% electrical continuity and pinout verification
- Crimp height monitoring on automated or high-volume lines
- Visual checks for insulation damage, terminal seating, and seal position
- Environmental, flex, or vibration validation for harsh applications
When to Use Pull Testing
The right sampling plan depends on the production moment. Use the table below as a practical starting point, then align it with your customer spec, terminal supplier data, and control plan.
| Situation | Purpose | Typical Sample Rule | Good For | Watch Out |
|---|---|---|---|---|
| First article or pilot build | Approve released setup before wider production | 3-5 samples per critical wire-terminal family | New products, tooling changes, launch risk control | Do not rely on continuity alone |
| Machine setup approval | Confirm applicator and crimp window at startup | 1-3 samples per setup, plus crimp height | High-volume crimp presses and shift changeovers | Fixture alignment can skew low results |
| Periodic in-process sampling | Catch drift from tool wear or incorrect adjustments | Every 30-60 minutes or per lot plan | Stable repeat jobs with documented control plans | Sampling interval must match risk and volume |
| Material substitution validation | Verify alternate terminal or wire still meets retention | 3+ samples for each changed combination | Shortage recovery and second-source approval | Do not assume same gauge means same pull result |
| Corrective action after a defect | Prove the fix after low retention or terminal slip | Fresh samples after adjustment and containment | Escapes, customer complaints, internal NCRs | Failed samples should not be included in restart evidence |
| Annual or periodic requalification | Reconfirm mature processes and retained tooling capability | Per customer spec or annual validation plan | Medical, defense, rail, and long-life industrial programs | Old applicators often drift before dimensions show it |
Minimums, Sampling, and Records
The first rule is simple: use the correct minimum for the exact termination. Supplier data, customer specifications, and application standards should all point to the approved retention target. If your program uses automotive release logic, the pull data may also feed broader evidence packages associated with PPAPor customer-specific validation plans.
The second rule is to record enough context that the number means something later. A pull value without wire size, terminal part number, terminal lot, tool ID, crimp height, strip length, operator, and machine reference is weak evidence. If a complaint arrives three months later, that missing context slows containment and makes comparison almost impossible.
The third rule is to match sampling to risk. On a mature, repeatable harness family, periodic destructive checks every 30 to 60 minutes may be enough. On a new launch, after a die change, after maintenance, or after a material substitution, sampling should become tighter until the process stabilizes again.
"A pull number without context is weaker than most teams think. We always want the matching crimp height, tool ID, wire part number, and failure mode on the same record. That is what turns a force reading into useful release evidence instead of a disconnected lab result."
How to Read Failure Modes
Numbers matter, but failure mode interpretation is where engineering judgment starts. A sample that exceeds minimum force and then breaks in the conductor away from the barrel may indicate a healthy mechanical joint. A sample that slips straight out of the barrel at a low load usually points to setup or material mismatch. The restart decision should always consider both.
Wire slips out below minimum force
This usually points to under-crimp, wrong barrel size, conductor strands outside the crimp zone, or an incorrect strip length that reduced true conductor engagement.
Conductor breaks at barrel edge
A sharp crimp edge, over-crimped barrel, nicked strands from wire preparation, or excessive tensile load concentration near the terminal exit are common causes.
Insulation support cuts the jacket
The insulation grip is too tight or placed on the wrong jacket diameter. The conductor crimp may still look acceptable, but the harness will fail vibration or flex testing later.
Scatter is high between samples
High variation usually means unstable setup, inconsistent strip length, mixed wire strand class, operator technique differences, or a worn applicator that is drifting across the shift.
Fixture or clamp causes false failures
If the test machine grips the conductor poorly or side-loads the terminal, the reading can drop even when the crimp is acceptable. Validate the test setup before blaming the press setting.
How Pull Testing Fits with Crimp Height and FAI
Pull testing works best when it is not isolated. A strong release package links wire preparation, crimp geometry, destructive retention, and final electrical evidence in one chain. That is why many teams pair pull data with the strip-length controlsfrom wire preparation, the in-process checks from crimping best practices, and the approval gates from first article inspection.
The broader lesson is that retention is a process-capability question, not just an operator question. If the line only reacts when a destructive sample fails, it is reacting too late. The better model is to use crimp height and setup controls to predict stability, then use pull force to confirm that the prediction still matches the physical joint.
Good Workflow
- Validate strip length and conductor condition at wire prep
- Approve crimp height at machine setup
- Pull test setup and first-article samples
- Keep periodic destructive checks active during the run
Weak Workflow
- No approved minimum tied to the exact terminal family
- Pull tests recorded without crimp height or tooling context
- Failed samples re-crimped instead of replaced
- Sampling left vague as "as needed" with no trigger logic
Release Discipline for Production Teams
When teams struggle with pull-force failures, the root cause is often weak release discipline rather than a single bad operator action. The fix is usually a clearer definition of the crimp family, stronger setup approval, tighter traceability, and faster escalation when a process input changes.
Define the exact combination
Pull force minimums are not generic. Tie each requirement to terminal part number, wire gauge or mm2, strand class, plating family, and applicator or tooling reference.
Pair pull testing with crimp height
Retention testing is powerful, but it is still destructive and relatively slow. Use crimp height for routine monitoring and reserve pull force for first pieces, periodic confirmation, and special changes.
Record failure mode, not just force
A sample that breaks in the conductor after exceeding minimum tells a different story from a sample that slips cleanly out of the barrel. The restart decision depends on both the number and the failure mode.
Escalate when the process shifts
Low pull readings after a terminal lot change, wire substitution, die replacement, or maintenance event should trigger setup review and additional verification before output is released.
Bottom line
Pull force testing is one of the fastest ways to expose weak crimp setups before they become field failures, but only when the minimums, sample rules, and documentation are specific. If your team wants stable launches, treat retention as controlled manufacturing data, not an occasional lab exercise.
We support prototype builds, crimp validation, pull-force test planning, and production release packages for wire harness and cable assembly programs that need repeatable results under real factory conditions.
FAQ
What is pull force testing in wire harness manufacturing?
Pull force testing is a destructive mechanical test that measures how much force a crimped wire-to-terminal or wire-to-splice connection can withstand before separation or conductor failure. In production, it confirms that the released crimp setup can hold the wire securely, not just pass continuity.
Is pull force testing required on every cable assembly?
Usually no. Because the test destroys the sample, most programs use it at first article, setup approval, applicator change, and periodic sampling rather than 100% inspection. Safety-critical or customer-specific programs may require more frequent checks, but the control plan should state the sampling rule clearly.
What is the difference between pull force testing and crimp height measurement?
Pull force testing proves mechanical retention after the crimp is made, while crimp height measurement monitors the crimp geometry that predicts retention. Strong processes use both: crimp height for fast in-process control and pull testing for first-piece and periodic destructive verification.
What causes low pull force in a harness crimp?
The most common causes are wrong terminal barrel size, incorrect strip length, damaged or missing strands, applicator drift, wrong anvil or die setting, mixed strand classes, and insulation trapped in the conductor crimp. Corrosion, plating mismatch, and off-center loading can also reduce retention.
How many pull force samples should be tested for a new cable assembly?
Many teams start with 3 to 5 samples per critical wire-terminal combination during first article, then move to periodic checks by shift, machine setup, or lot size. Automotive, aerospace, or medical programs may require a larger study when the customer expects PPAP-style process evidence or special characteristics.
Can a terminal be re-crimped if it fails pull force testing?
No. Once a terminal barrel has been compressed, the metal is permanently deformed. A failed sample should be cut off, the root cause identified, the setup corrected, and new samples tested. Re-crimping hides the real process problem and is not a valid corrective action.
Related reading
Crimping Best Practices
Control strip length, die selection, and crimp geometry before retention drifts.
Read articleFirst Article Inspection for Cable Assembly
Build pull-force evidence into a stronger approval package before production release.
Read articleTesting Methods for Wire Harnesses
See how pull force fits with continuity, hipot, insulation resistance, and functional tests.
Read article