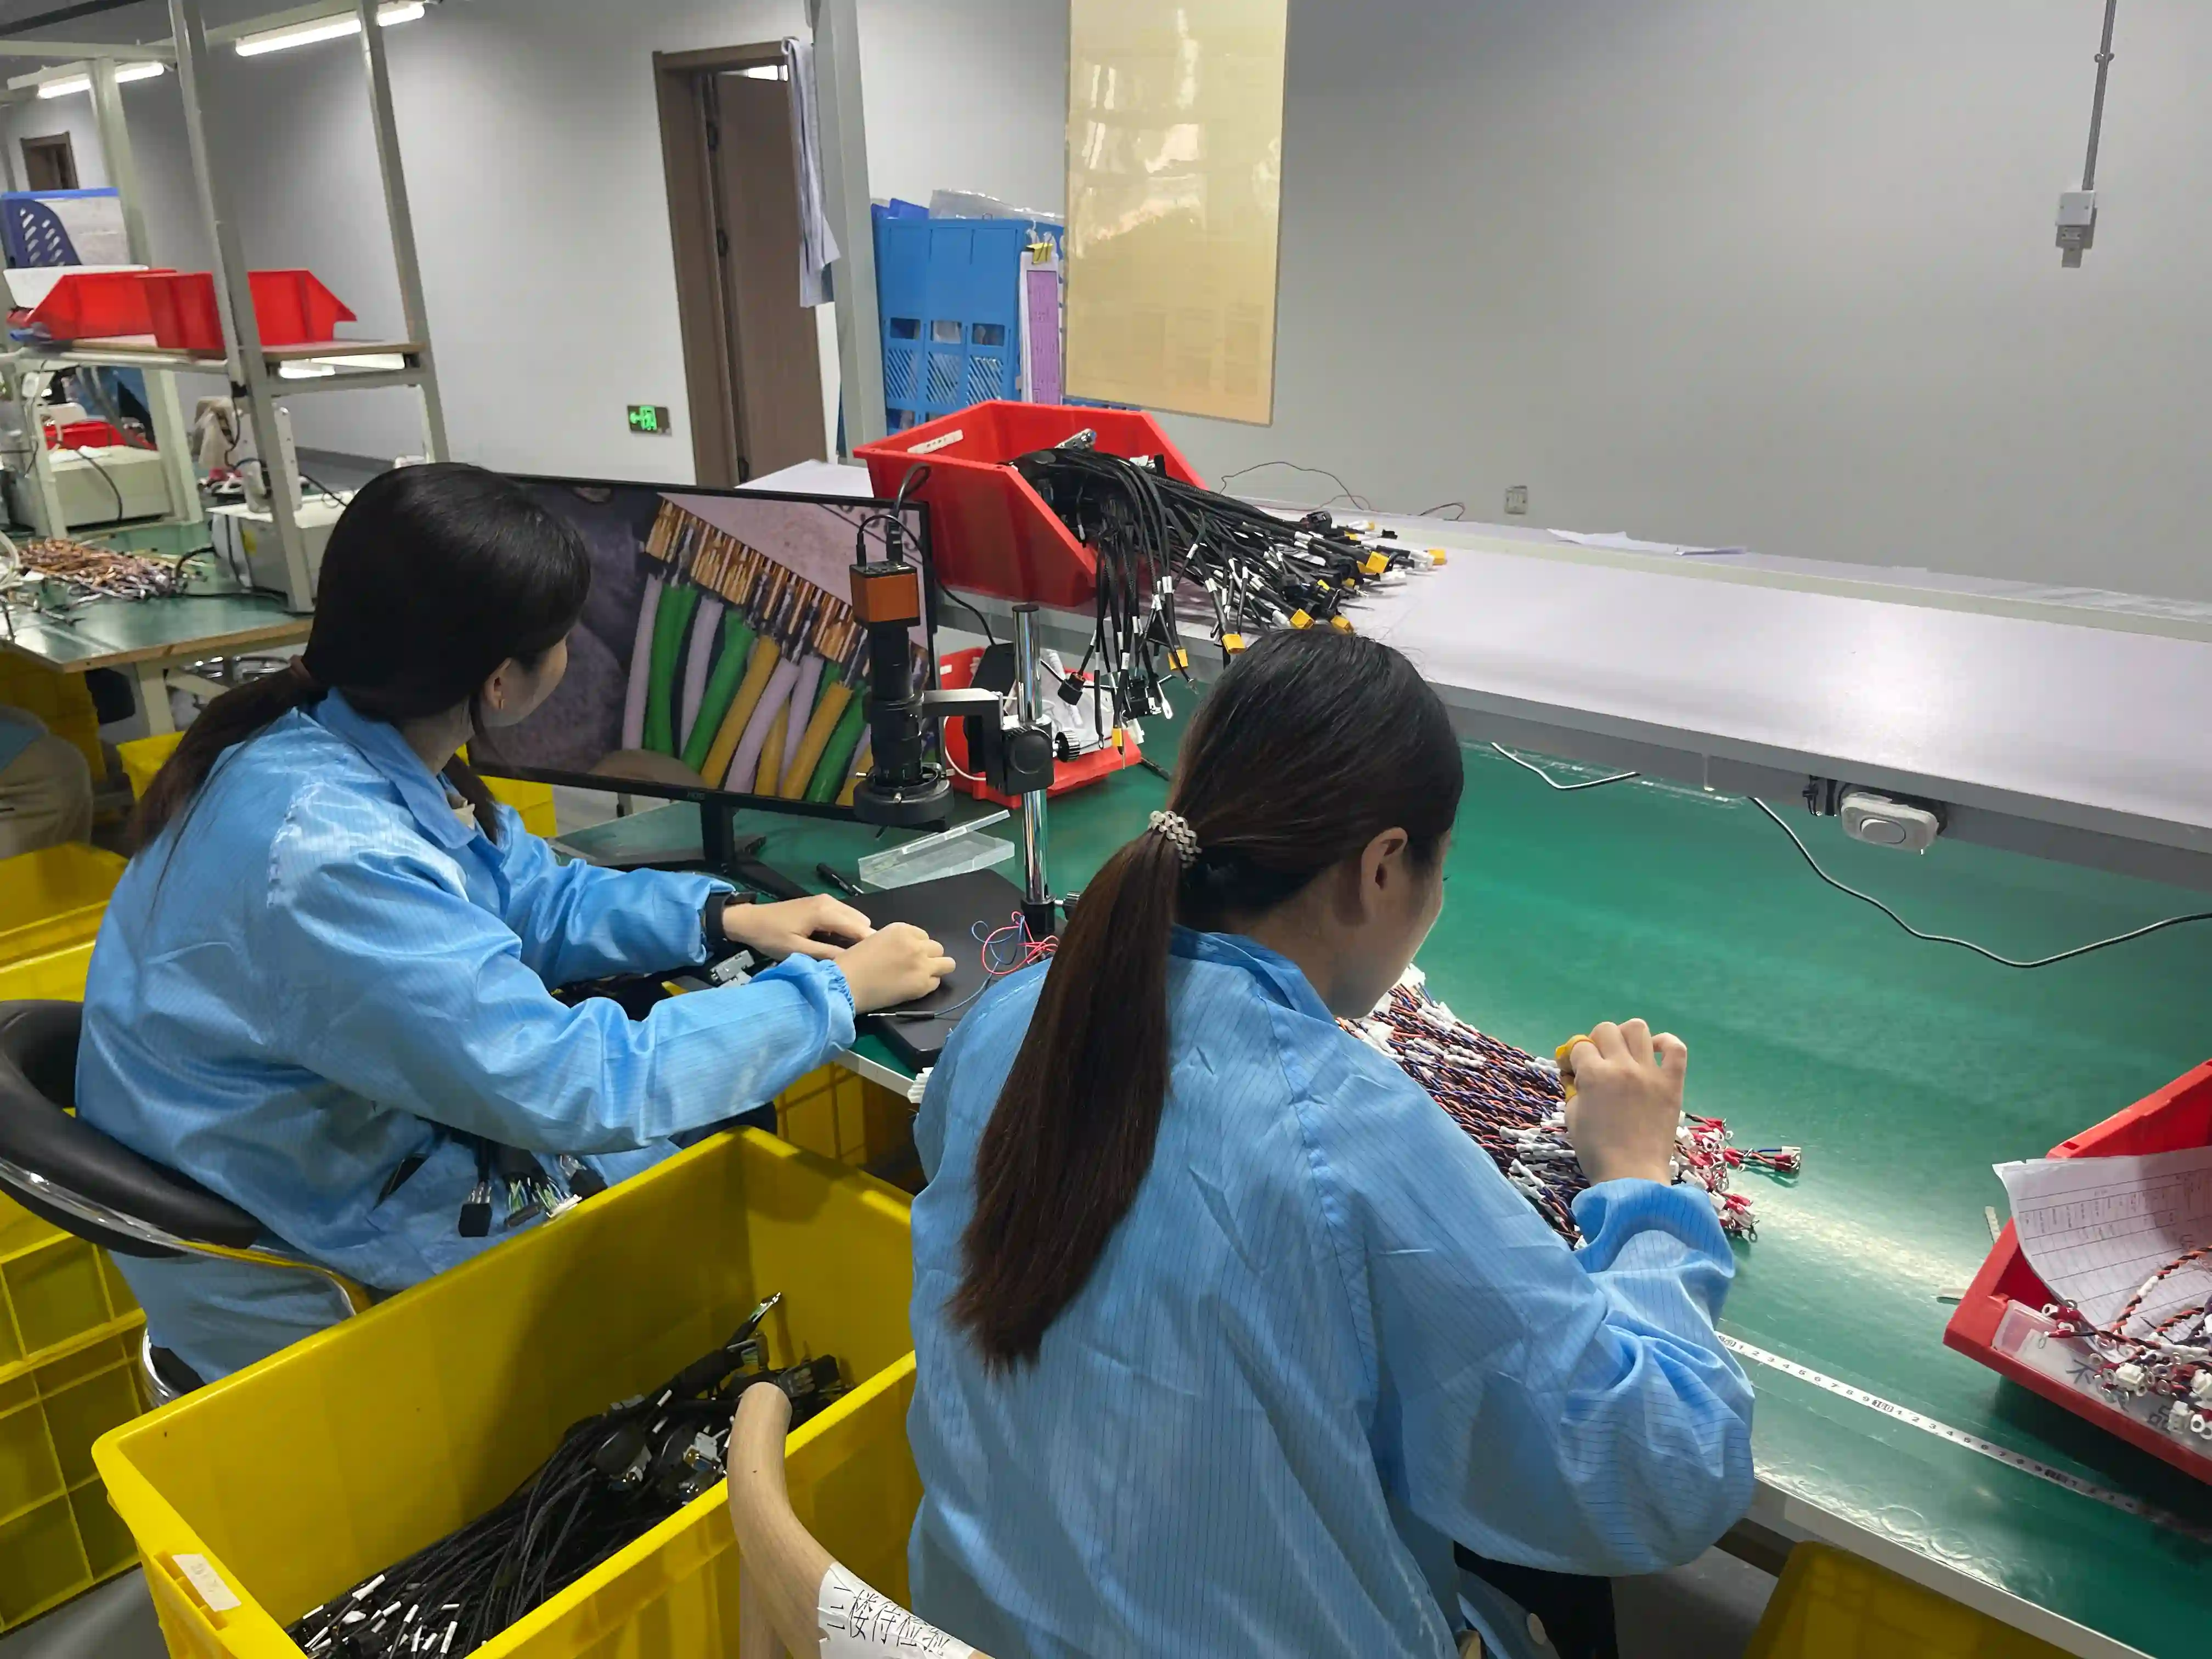
Insulation resistance testing sits in the middle ground between a basic continuity check and a full hipot test. It does not simply answer whether a circuit is connected. It tells you how effectively adjacent conductors, shields, and jackets resist leakage current under applied DC voltage. That makes it one of the fastest ways to catch moisture ingress, insulation damage, residue contamination, and marginal process control before assemblies ship.
In practical terms, the test uses a megohmmeter to apply a defined DC voltage and measure leakage as resistance in megaohms or gigaohms. The underlying safety objective is tied to the same insulation principles described in references on electrical insulation and international work led by the IEC. On the factory floor, however, the question is simpler: does this harness still isolate current well enough to survive its real environment?
This guide focuses on cable assemblies and wire harnesses rather than motors or building wiring. If you need a broader overview of the full test sequence, start with our wire harness testing methods guide and our dedicated article on continuity testing. The sections below go deeper on IR-specific setup, limits, and troubleshooting.
500 VDC
Common production IR test voltage
100 MΩ
Typical low-voltage minimum release limit
3-10 s
Usual dwell time before judging the reading
>1 GΩ
Common result for clean dry assemblies
In This Article
For a standard 24 V industrial harness, the process should treat 100 megaohms at 500 VDC as a floor, not a target. A clean dry assembly normally reads far above 1 gigaohm. When results cluster close to the limit, that is a process warning long before it becomes a field failure.
OurPCB Engineering Team
What insulation resistance testing actually measures
IR testing measures unwanted current flow between conductive parts that should stay electrically isolated.
In a harness, that usually means conductor-to-conductor, conductor-to-shield, or conductor-to-shell isolation. The tester applies DC voltage, waits for charging current to settle, then calculates resistance from the remaining leakage current. High resistance is good. Low resistance means the insulation system is compromised by damage, contamination, moisture, poor material choice, or incorrect assembly handling.
Unlike continuity, IR testing is not looking for a low-resistance path. It is looking for the absence of one. That is why the test is useful after strip-and-terminate operations, overmolding, sealing, rework, environmental exposure, and final packaging. On waterproof or high-reliability programs, it is often paired with our environmental testing workflow to confirm insulation remains stable after humidity, salt spray, or thermal cycling.
A good reading is not just a number. You should also watch how fast the reading rises, whether it stabilizes, and whether it changes after repeated builds. A harness that starts at 800 megaohms and climbs smoothly to 2 gigaohms behaves very differently from one that bounces between 40 and 120 megaohms because trapped moisture is moving inside the assembly.
Voltage, dwell time and pass limits
The right IR recipe depends on operating voltage, insulation system, connector geometry, and contamination risk.
| Program Type | Typical Test Voltage | Typical Minimum IR | Dwell Time | Primary Risk |
|---|---|---|---|---|
| Low-voltage control harness | 100-500 VDC | 100 MΩ | 3-5 s | Flux or handling contamination |
| Industrial sensor cable | 500 VDC | 100-500 MΩ | 3-10 s | Coolant, washdown, condensation |
| Medical cable assembly | 500 VDC | 500 MΩ+ | 5-10 s | Cleaning residue or micro-cracks |
| Automotive sealed harness | 500-1000 VDC | 100 MΩ+ | 5 s | Seal damage and trapped moisture |
| EV high-voltage harness | 1000 VDC | 500 MΩ to 1 GΩ | 5-10 s | Partial insulation damage near shields |
| Qualification sample | Per spec | Trend based | 30-60 s | Long-term stability and drift |
These values are starting points, not universal rules. The drawing, customer standard, end-use voltage, and safety classification always win. A harness for a 48 V control cabinet may pass at 100 megaohms, while a battery interconnect in an EV program may require a much higher minimum and a separate isolation strategy. That is why our first article inspection workflow converts every electrical test requirement into an explicit number before the production line is released.
Dwell time matters because insulation behaves capacitively at the start of the test. If the reading is taken too soon, you are mostly measuring charging current rather than true leakage. If the dwell is too long on a delicate assembly, you waste cycle time without adding useful discrimination. For most cable assemblies, 3 to 10 seconds is enough to separate healthy product from borderline product.
If your IR reading keeps climbing for 30 seconds, that is not automatically good news. Sometimes it means the harness is charging normally. Sometimes it means moisture is redistributing and hiding the real leakage path. the review always compare the curve shape, not just the final number.
OurPCB Engineering Team
Production test process step by step
Good IR testing is as much about fixture discipline as instrument capability.
1. Verify the test path
Run continuity and short checks first so the tester is not applying IR voltage across a miswired circuit or a closed path created by operator error.
2. Isolate sensitive components
Remove or bypass electronics, LEDs, suppressors, and sensors that are not designed to see the chosen DC test voltage. Many failures blamed on poor insulation are actually bad fixturing.
3. Define the correct nodes
Decide whether the test is conductor-to-conductor, conductor-to-shield, or conductor-to-shell. Ambiguous node selection produces meaningless data.
4. Apply the specified voltage and dwell
Use the minimum voltage that still reveals the defect mode of interest. Then allow enough dwell time for the reading to stabilize before making the pass or fail decision.
5. Record absolute value and trends
A pass result of 102 megaohms and a pass result of 5 gigaohms are not equivalent from a process-control standpoint. Track both the pass rate and the distribution.
6. Route failures to controlled diagnosis
Open the assembly only after confirming fixture cleanliness, adapter integrity, and retest repeatability. Otherwise you create false scrap and lose the real root cause.
Common false-fail source
Dirty nests, worn probe pins, oily gloves, and incomplete drying after wash processes can drag good product below the threshold. Always verify the fixture and environment before disassembling a failed harness.
Common failure modes and root causes
Low IR readings usually come from a short list of recurring process problems.
The first category is contamination. Flux residue, coolant, cutting oil, mold release, adhesive bleed, and even skin salts can create conductive films across terminals or exposed insulation surfaces. The second category is mechanical damage: over-stripping, nicked insulation, crushed jacket sections, braid strands touching an adjacent conductor, or shield drain wire breakout too close to the seal line.
The third category is environmental exposure. A harness that passes when dry may fail after 24 hours at high humidity because the connector interface or overmold traps moisture. This is especially important on waterproof, marine, and automotive products where the finished assembly may face washdown, splash, or condensation cycles.
The fourth category is design mismatch. Some materials absorb more moisture, some spacing rules are too aggressive for the chosen test voltage, and some shield termination schemes leave leakage paths that look like manufacturing defects but are really design problems. If a program shows broad IR variation from the first pilot lot, revisit the released construction, not just the workmanship.
On 800 V EV harnesses, the validation plan should separate the process check from the final stress check. We may use 500 or 1000 VDC for insulation resistance to trend cleanliness, then run the specified dielectric withstand test separately. Mixing those objectives into one limit creates bad data and bad decisions.
OurPCB Engineering Team
How to set acceptance criteria without creating bad data
A useful IR specification is specific, repeatable, and matched to the product risk.
Start with four items: node definition, test voltage, dwell time, and minimum acceptable resistance. If the product includes active electronics or suppression devices, specify how those paths are isolated during test. If environmental conditioning is required, define it explicitly: for example, test within 15 minutes of removal from a 40 degrees C and 93 percent RH chamber.
Next, decide whether the number is a hard release gate, a process alert threshold, or both. Many strong quality systems use two limits: a formal fail limit and a higher warning limit that triggers corrective action before customer risk appears. That approach works particularly well for programs with stable history and large enough sample sizes to show drift.
Finally, keep insulation resistance in sequence with the rest of the electrical verification plan. We normally align IR criteria with the test plan used for continuity, hipot, and functional checks. That creates one coherent release standard instead of three separate test stations applying unrelated logic.
Where insulation resistance testing fits in the full release plan
IR testing is powerful, but it should not be used as a substitute for every other electrical or mechanical verification step. A harness can post excellent insulation resistance and still fail in the field because of an open circuit, swapped pin, weak crimp, incorrect shield termination, or connector retention problem. That is why strong release plans layer IR testing alongside continuity, visual workmanship review, dimensional confirmation, and pull-force or retention checks where applicable.
The sequence also matters. We generally validate circuit mapping first, then run insulation resistance, then apply dielectric withstand only if the specification requires it. On assemblies that contain active electronics or customer-owned modules, a separate fixture or bypass harness may be necessary so the IR voltage never reaches sensitive components. On highly sealed products, teams often repeat the test before and after environmental conditioning to prove the result is stable rather than accidental.
If your program has mixed risks, break the requirement into layers. Use IR testing to monitor insulation cleanliness and process health, use continuity to confirm connectivity, and use the final application-specific checks to validate real-world function. That approach produces data you can act on instead of one oversized pass-fail number that hides the true failure mechanism.
FAQ
What is a good insulation resistance value for a wire harness?
For many low-voltage harnesses, 100 megaohms at 500 VDC is a common production floor minimum, but the correct limit must follow the drawing, customer specification, and application risk. Medical, aerospace, and EV programs often require higher thresholds such as 500 megaohms or 1 gigaohm.
What voltage should be used for insulation resistance testing?
Typical insulation resistance test voltages are 50 VDC, 100 VDC, 250 VDC, 500 VDC, and 1000 VDC. A 500 VDC test is common for industrial and general cable assemblies, while higher-voltage systems may require 1000 VDC if the specification calls for it.
How long should an insulation resistance test run?
A fast production check may run for 1 to 5 seconds, but many engineers allow 3 to 10 seconds of dwell so leakage current can stabilize. Qualification testing can extend to 60 seconds when trend data is important.
What is the difference between insulation resistance and hipot testing?
Insulation resistance testing measures leakage as a resistance value in megaohms or gigaohms, usually at 50 to 1000 VDC. Hipot is a dielectric withstand stress test that applies a much higher voltage, often 500 to 3000 VAC or DC, to prove insulation survives a defined limit without breakdown.
Can moisture cause insulation resistance failures?
Yes. Moisture, flux residue, cutting oils, and conductive dust are among the most common causes of IR failures. A harness that reads above 1000 megaohms when dry can collapse below 10 megaohms after humidity exposure if sealing, cleaning, or drying is poor.
Should continuity be tested before insulation resistance?
Yes. Production test flow usually starts with continuity and short-circuit verification, then insulation resistance, then hipot if required. Running IR or hipot first on a miswired harness can damage attached components and slow root-cause analysis.
The practical takeaway
Insulation resistance testing is most valuable when it is treated as a controlled process signal, not just a pass or fail light. The best teams set clear node definitions, choose realistic voltage, allow enough dwell for stabilization, and trend the readings so process drift is visible before customers see it.
If your assemblies operate in moisture, high voltage, or harsh-field environments, IR testing should be written into the release plan with the same discipline as crimp pull force, continuity, and dielectric withstand.